 DigiUsher Documentation
Connecting a Cloudflare account
Connect your Cloudflare account to DigiUsher with an Account ID and a read-only Billing API token to track usage-based spend across Cloudflare products.
Overview
To connect your Cloudflare account to DigiUsher, create an API token with the Billing: Read permission in the Cloudflare dashboard. Then enter that token and the Account ID in DigiUsher. This page gives the access that DigiUsher asks for, the reason for that access, and the credentials that you enter.
Self-serve Cloudflare accounts only
You need a Cloudflare self-serve account. DigiUsher does not support a Cloudflare Enterprise contract account. With an Enterprise contract, you cannot use this integration at this time.
Summary of Access Required
| Component | Details |
|---|---|
| Identity | Cloudflare API Token, read-only, for programmatic access only |
| Access level | Read-only. Billing and usage data at the level of the account |
| Data | Daily billable usage per product per billing period |
| Scope | A single Cloudflare account (identified by Account ID) |
| Capability | What It Provides |
|---|---|
| Spend by product | Workers, R2, D1, Workers AI, Vectorize, Images, Stream, and others |
| Usage quantities | Requests, duration, storage, and bandwidth (product-dependent) |
| Credit rows | Negative-value rows captured as credits |
DigiUsher cannot send traffic, cannot change DNS records or zones, and cannot change any part of your Cloudflare configuration.
Prerequisites
Information to Gather
| Item | How to Find | DigiUsher Field |
|---|---|---|
| Account ID | In the Cloudflare dashboard, open the Overview page of the account. The Account ID is in the right sidebar. | account_id |
| API Token | Cloudflare dashboard → Manage Account → API Tokens → Create Token → Custom token → Permission: Account > Billing > Read → add your account under Account Resources. The page shows the token one time only, so save it in a safe place. | api_token |
Roles Required by the Person Performing Setup
| Role / Permission | Why |
|---|---|
| Account Administrator or Super Administrator | Only these roles can create API tokens on a Cloudflare account. |
Network & Email Access (For Regulated Environments)
If your organization restricts outbound internet access or email domains, make sure that these two items are in place before you start:
- Domain allowlist. Add
*.digiusher.comto the allowlist of your network and your firewall. The users of your organization can then open the DigiUsher platform in their browsers. - Email allowlist. Add
digiusher.comas a permitted sender domain in your email security gateway. DigiUsher sends onboarding confirmations, alerts, and reports from@digiusher.comaddresses.
Setup
Create an API Token
Create a separate API token for DigiUsher, with a limited scope.
-
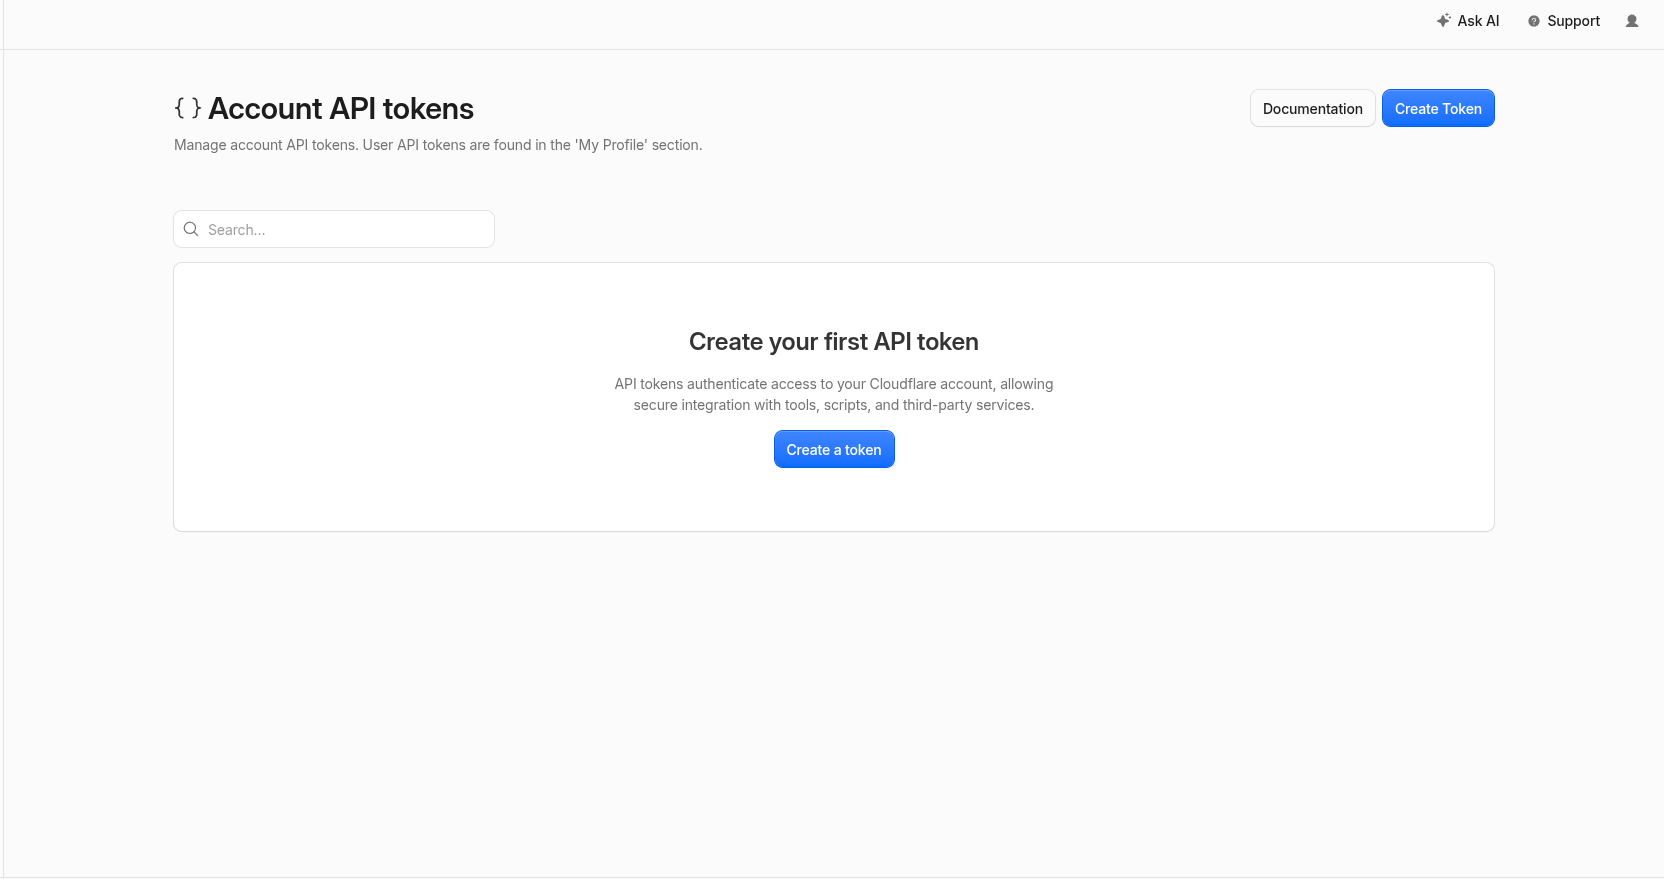
In the Cloudflare dashboard, open Manage Account → API Tokens.
-
Click Create Token, then select Custom token.
-
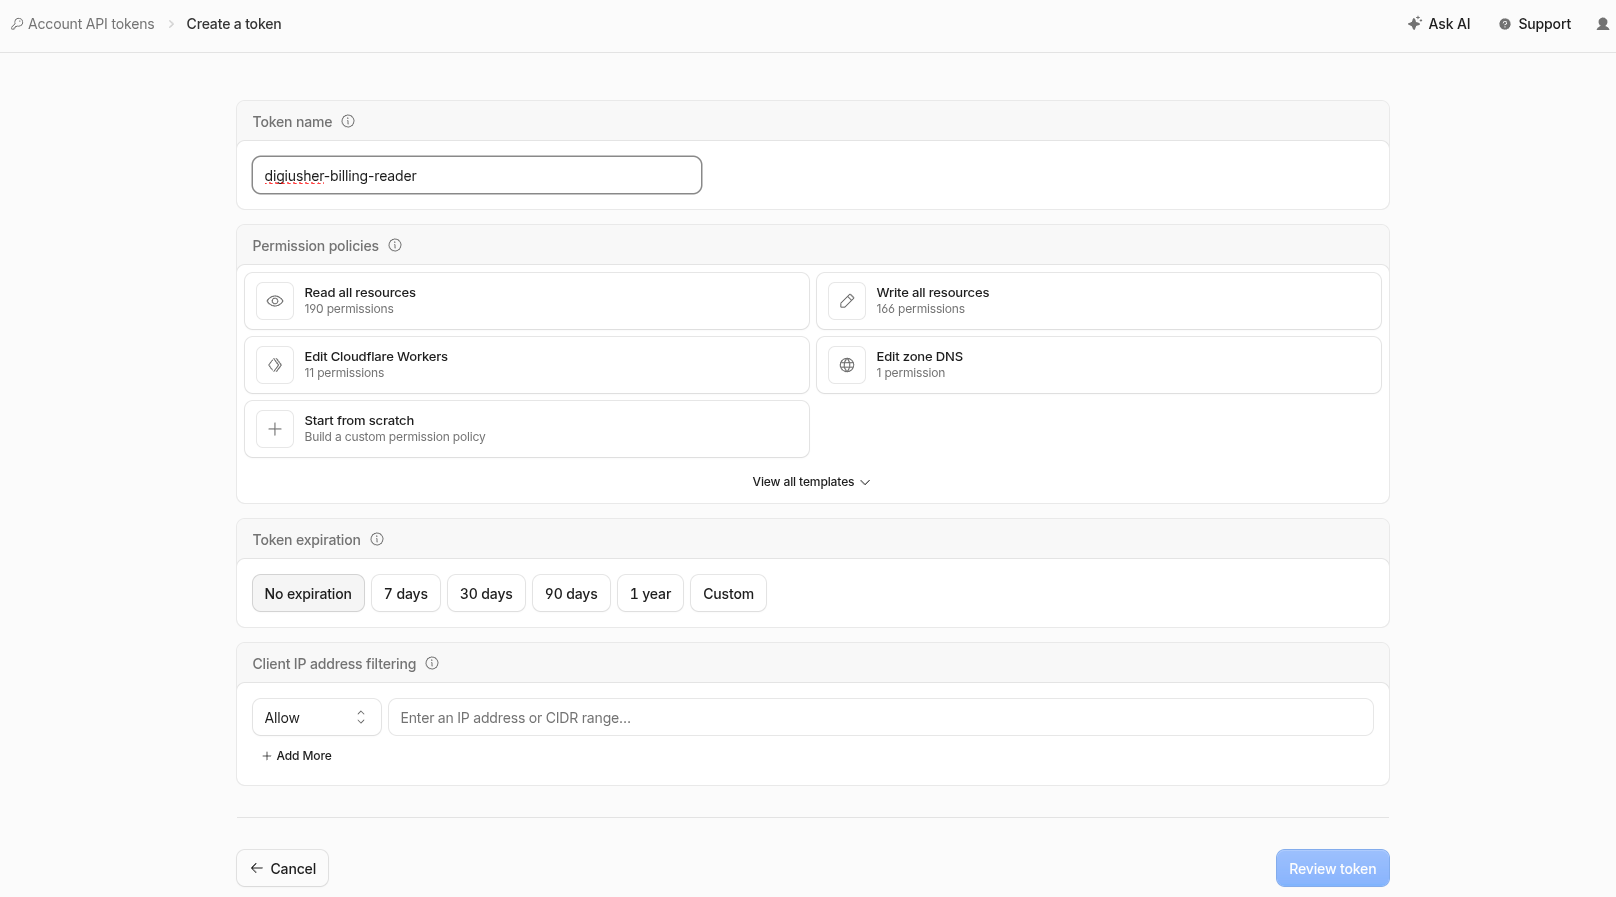
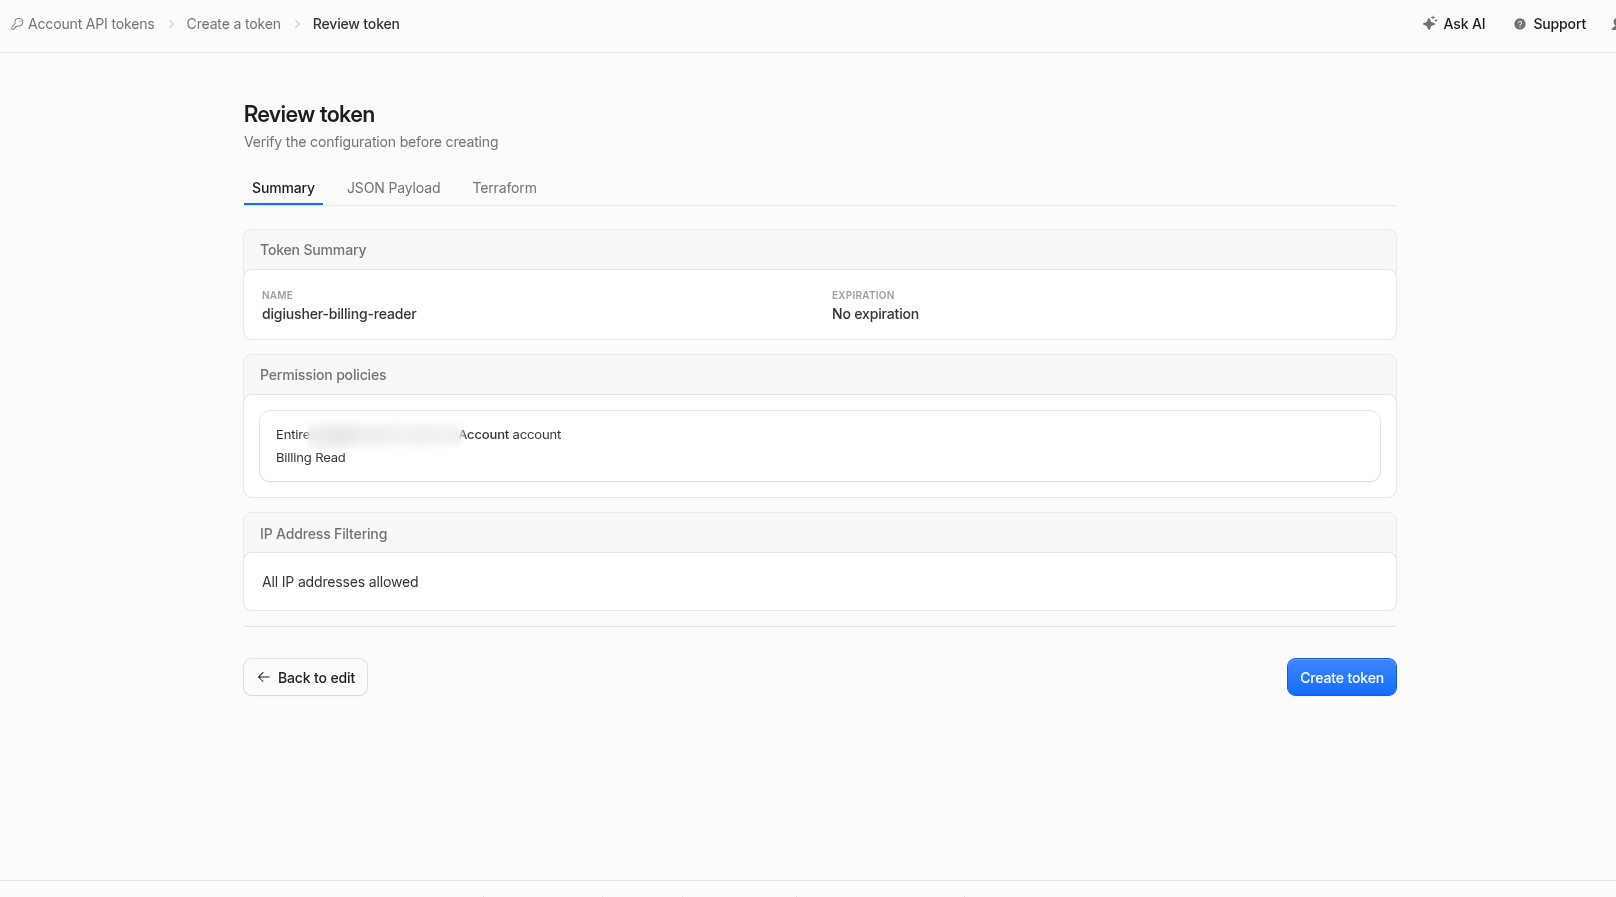
Give the token a name that you know again, for example
digiusher-billing-read. -
Under Permissions, add
Account→Billing→Read. Do not select Edit. Read is the minimum permission, and it is sufficient.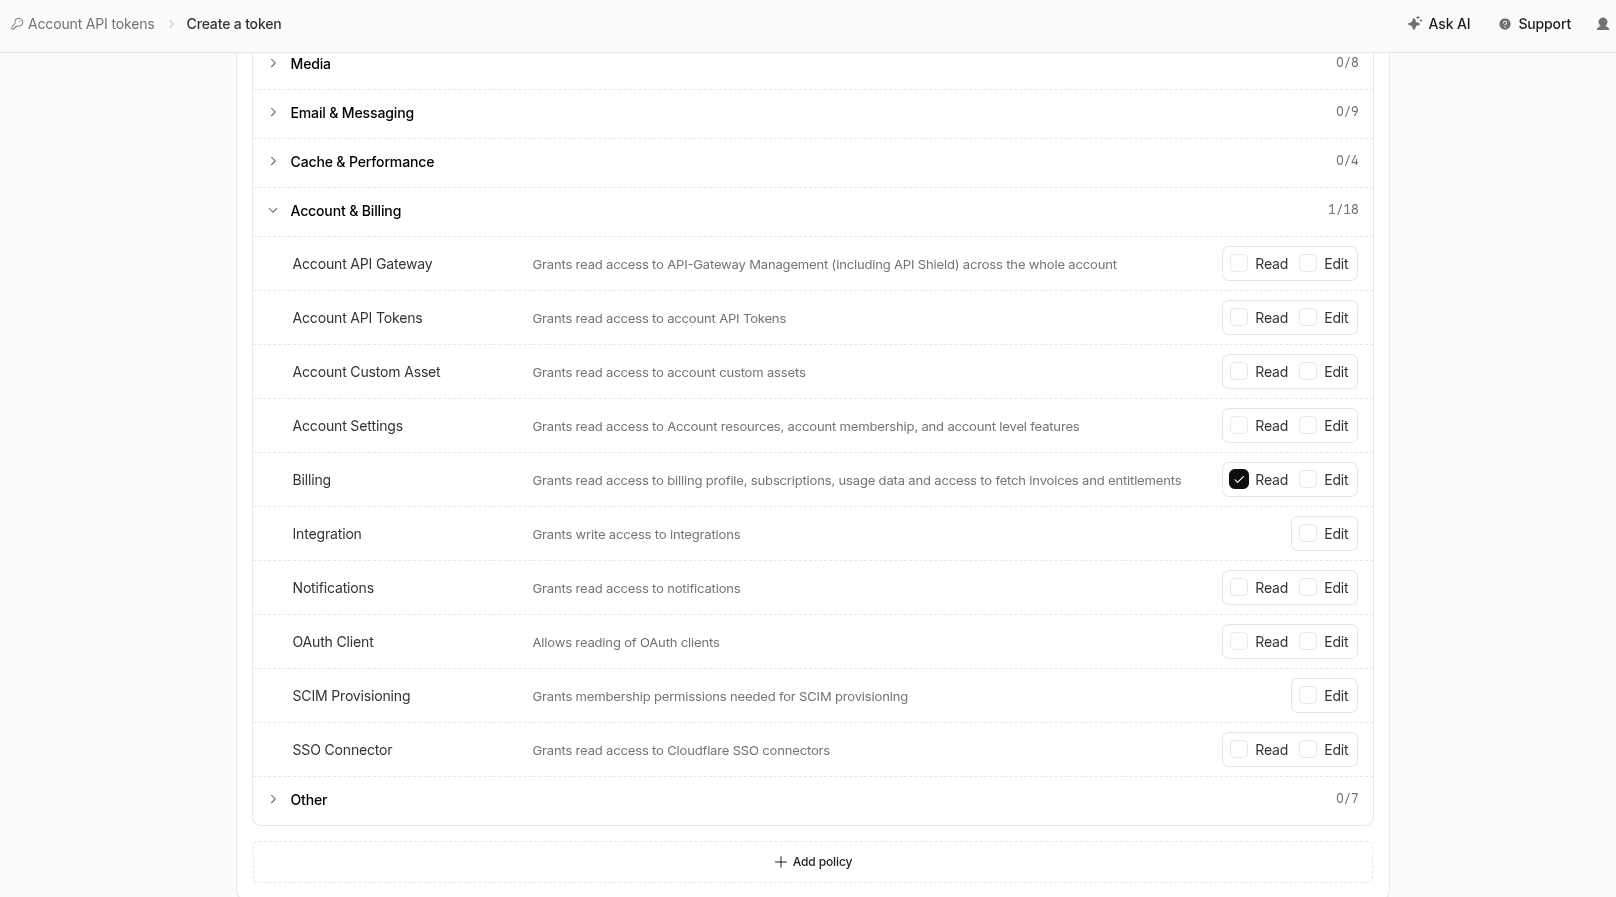
-
Under Account Resources, select Include → Specific account → <your account>, or Include → All accounts.
-
For more security, you can set an expiration date or an IP address filter.
-
Click Continue to summary, then Create Token.
-
On the confirmation page, copy the API token. It starts with
cfat_.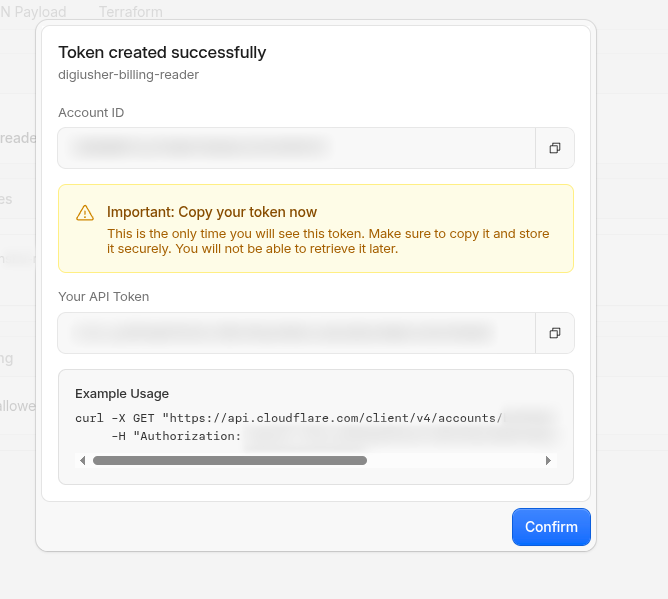
Save your credential
CAUTION: Copy the API token now and save it in a safe place. The page shows the token one time only, and you cannot read it again. You enter this token in DigiUsher in the next section.
Collect the Account ID
In the Cloudflare dashboard, open the Overview page of the account that you want to connect. Copy the Account ID from the right sidebar.
Before you continue, make sure that you have these two values:
- The Account ID of the account that you want to connect. This value is not the token, and it has no
cfat_prefix. - The API token, which starts with
cfat_, with the permissionAccount > Billing > Read.
Connect in DigiUsher
In DigiUsher, go to Connectors > Add Source and select Cloudflare. On the Configure step, enter the values in the table. Then go to Connect and click Connect source:
| Field | Where to Find |
|---|---|
| Display Name | Any label you prefer, for example Cloudflare Production |
| API Token | The cfat_... token from Step 1 |
| Account ID | From Step 2 |
At the connection, DigiUsher makes sure that the token works with your account, and starts to import the billing data. The first sync covers three calendar months: the current month and the two months before it. This is approximately 85 days, and it is the full period that the billable-usage API of Cloudflare keeps. Every sync after the first one reads the last 40 days again, because Cloudflare changes the usage values until it finalizes them.
Setup Checklist
- Paid Cloudflare self-serve account (an Enterprise contract does not work)
- Account Administrator or Super Administrator role
- Account ID found and copied
- API token created with
Account > Billing > Read, and not with Edit - API token saved in a safe place
- Account ID and API token entered in DigiUsher
-
*.digiusher.comin the allowlist of your network and firewall (if your organization restricts this) -
digiusher.comin the allowlist of permitted sender domains in your email security gateway (if your organization restricts this)
Security
What DigiUsher CAN Access (Read-Only)
- Billable usage data for each product and each billing period
- Usage quantities for each product: requests, storage, bandwidth, and duration
What DigiUsher CANNOT Do
- Send traffic, or change a DNS record, a zone, a Worker, or any other Cloudflare resource
- Create, rotate, or delete an API token
- Read log content, request payloads, or personal data of users
- Read or change the payment methods, the plan configuration, or the billing contacts
- Buy a product or change your account
Monitoring
Open Manage Account → API Tokens to see the tokens that exist and the last time each token was used. Delete every token that you do not know.
Credential Rotation
- In the Cloudflare dashboard, create a new API token with
Account > Billing > Read. - Enter the new token in DigiUsher immediately.
- Delete the old token in the Cloudflare dashboard.
Avoid ingestion gaps
Create the new token and enter it in DigiUsher before you delete the old token. This prevents an interruption of the data collection.
Revocation
Delete the API token at Manage Account → API Tokens. Cloudflare then immediately invalidates the token and stops all access. DigiUsher cannot read billing data again until you give it a new token.
Troubleshooting
403 / invalid token
Make sure that the token has the permission Account > Billing > Read. Edit does not work, and another permission category does not work. Create the token again in the Cloudflare dashboard and enter it again in DigiUsher.
Account ID not recognized
Make sure that you copied the Account ID, and not a Zone ID. A Zone ID looks similar, but it belongs to one domain. The Account ID is in the right sidebar of the Overview page of the account, in the Cloudflare dashboard.
No billing data or incomplete data
Cloudflare finalizes the billing data for each billing period. The usage in the middle of a period can therefore be absent. Every sync reads the last 40 days again, so the values of those days change when Cloudflare finalizes them. Cloudflare keeps the data for approximately 90 days, and DigiUsher cannot read data from an earlier date.
Token restricted by IP filter
If you set an IP address filter on the token, make sure that the filter contains the egress IP addresses of DigiUsher. Write to DigiUsher support for the current list of egress IP addresses.
Need Help?
If this page does not answer your question, write to DigiUsher support at support@digiusher.com. The team will help you.
Connecting a ChatGPT Enterprise or Edu account
Connect your ChatGPT Enterprise or Edu organization to DigiUsher with an Admin API key and Organization ID to track AI spend and usage across your organization.
Connecting a Redis Cloud account
Connect your Redis Cloud account to DigiUsher with an API account key and an API user key to track usage-based spend across your Redis Cloud subscriptions and databases.